Create AI config variations
Read time: 3 minutes
Last edited: Feb 07, 2025
Overview
This topic explains how to create and update AI config variations.
An AI config is a resource that you create in LaunchDarkly. You can use AI configs to customize, test, and roll out new large language models (LLMs) within your generative AI applications.
Within each AI config, you define one or more variations, each of which includes a model configuration and one or more messages. You can define up to fifty variations.
Create an AI config variation
To create an AI config variation:
- Navigate to the detail page for the AI config.
- Select the Variations tab. A create panel appears:
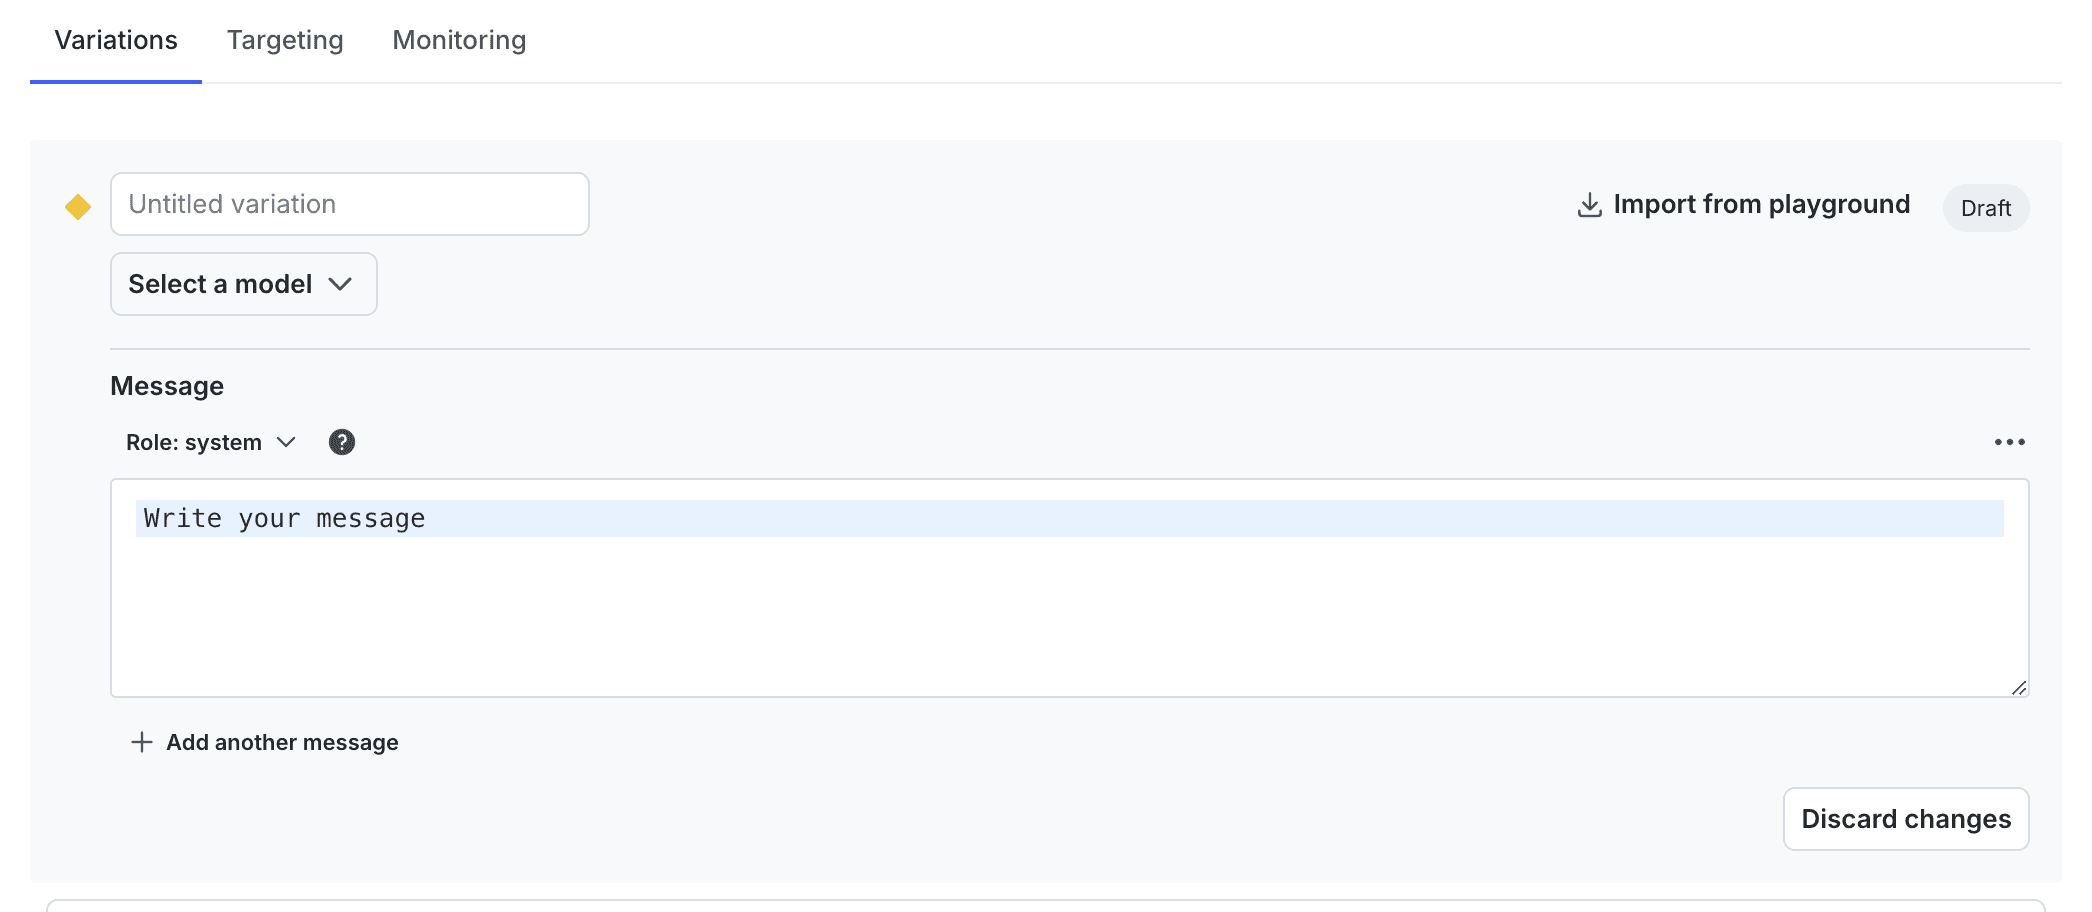
-
Enter a variation Name. You'll use this to refer to the variations when you set up targeting rules.
Import from external playgroundsIf you have already used an external playground to set up a model, model parameters, and messages, you can import that configuration into your AI config variation. Here's how:
- Click Import from playground.
- In the "Import from playground" dialog, select a provider from the Which playground are you using? menu.
- Paste the output from your provider's playground into the text box.
- Click Import.
- Skip to step 9 in the main procedure.
-
Click Select a model and choose the model to use.
-
LaunchDarkly provides a list of common models, and updates it frequently.
-
You can also choose Add a model and create your own. To learn more, read Create AI model configurations.
LaunchDarkly does not send any data to these modelsLaunchDarkly does not send of the information that you provide when creating an AI config and its variations to any models. We do not use any of the information to fine tune any models. Your selection here is only used to suggest values for model parameters, and to help you track which messages are paired with which models. This list is updated regularly. To request a new model, click the Give feedback option and let us know what models you'd like to have included.
- (Optional) Click Parameters to view and update variation parameters:
- In the "Adjust variation parameters" dialog, the Base value of each parameter is from the model settings. You can enter a different Override value for this variation.
- Optionally, click + Add parameters and additional model parameters. For example, if you typically use the default value for a model parameter, but want to set it to something different for this variation, you can make that change here.
- Then click Close.
- Use the dropdown to select the message role for the first message in this variation. The default value is "system" but you can also choose "assistant" or "user." Not all model providers support all roles.
- Enter the text of the message.
- (Optional) Use standard Markdown formatting to format the message. Click the three-dot overflow menu and choose Preview to view the rendered variation. Choose Edit from the same menu to return to editing the message.
- (Optional) Use two curly braces to indicate variables that you would like to set values for at runtime from your application. For example, enter
This is an {{ example }} messageif you'd like to replace{{ example }}with some other value in your application code when an end user encounters this AI config. - (Optional) Use two curly braces, the
ldctxprefix, and dot (.) notation to indicate context attributes whose values you would like to use at runtime. For example, enterDescribe the typical weather in {{ ldctx.city }}if you'd like to replace{{ ldctx.city }}with thecityattribute from each context that encounters this AI config. - To learn more about how variables and context attributes are inserted into messages at runtime, read Customizing AI configs.
- (Optional) Click + Add another message and repeat steps 6 and 7 to include another message in the AI config variation.
- Click Save changes to save the AI config variation.
After you create an AI config and its variations, you can set up targeting rules and incorporate the AI config in your SDK.